Creating your own homemade Nerf gun can be a fun and rewarding project for any Nerf enthusiast. Whether you’re looking to customize your blaster or simply want to try your hand at DIY, making your own Nerf gun allows you to tailor the design to your preferences and have a unique blaster that stands out on the battlefield. In this guide, we will walk you through the step-by-step process of making a homemade Nerf gun, from gathering the necessary materials to assembling the parts and testing its performance.
Gather Necessary Materials
Identify the Required Components
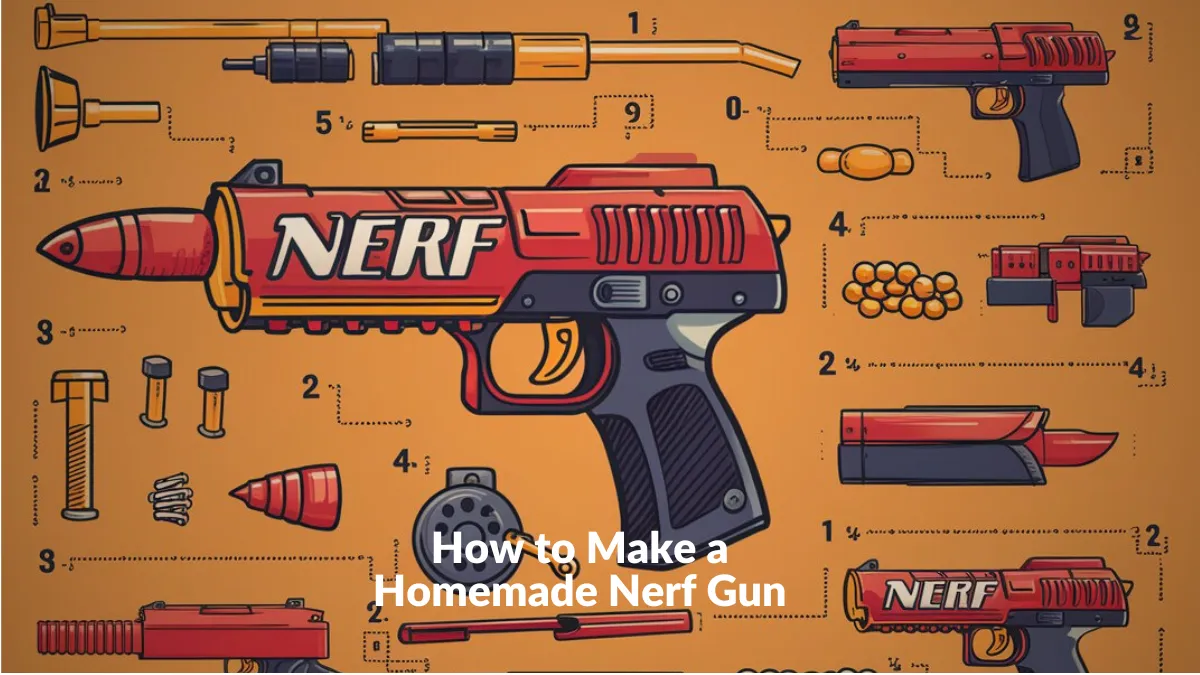
Before you begin making your homemade Nerf gun, it’s important to identify the components you will need. The basic components include a Nerf gun body, a barrel, a loading mechanism, and various other parts such as springs, screws, and adhesives. You may also want to consider optional materials for customization, such as paint or decals to personalize your blaster.
Gather Basic Tools and Equipment
In addition to the necessary components, you will need some basic tools and equipment to assemble your homemade Nerf gun. These may include a screwdriver, pliers, a hot glue gun, a hacksaw or pipe cutters, and sandpaper for smoothing rough edges. It’s important to gather all these tools before starting the project to ensure a smooth workflow.
Choose the Right Foam Darts
Foam darts are an essential part of any Nerf gun. When making your homemade Nerf gun, it’s important to choose the right foam darts that are compatible with your blaster. You can either purchase pre-made foam darts from Nerf or opt to make your own using foam and a DIY dart-making kit.
Select the Appropriate Adhesives
To assemble your homemade Nerf gun, you will need the right adhesives to securely attach various components together. Depending on the materials you are working with, you may need epoxy, super glue, or hot glue. Make sure to read the manufacturer’s instructions and choose adhesives that are safe and suitable for your specific project.
Consider Optional Materials for Customization
If you want to add a personal touch to your homemade Nerf gun, consider optional materials for customization. This could include paint for coloring the blaster, decals for adding designs or logos, or even additional accessories like scopes or stocks. The options for customization are endless, so get creative and make your blaster uniquely yours.
Preparing the Nerf Gun Body
Once you have gathered all the necessary materials and tools, it’s time to prepare the Nerf gun body. Begin by disassembling the Nerf gun and removing any existing components, such as the original barrel or loading mechanism. This will provide a blank canvas for you to work with and make it easier to customize your homemade Nerf gun. Next, sand down any rough edges or imperfections on the Nerf gun body using sandpaper. This will help create a smooth surface for attaching new components and prevent any discomfort when handling the blaster. Once the body is sanded and smooth, you can begin attaching the new components and building your custom Nerf gun.
Creating the Barrel
The barrel is a key component of your homemade Nerf gun as it determines the accuracy and range of your darts. There are several ways to create a barrel, depending on the materials you have chosen. One common method is using PVC pipe or brass tubing to create a straight, smooth barrel that ensures consistent dart flight. Measure and cut the pipe or tubing to the desired length, and attach it securely to the Nerf gun body using appropriate adhesives.
Building the Loading Mechanism
The loading mechanism is responsible for loading the foam darts into the barrel and preparing them for firing. Depending on your design preferences and available materials, you can create a loading mechanism using various methods. One popular approach is using a spring-loaded plunger system, similar to the mechanisms used in commercial Nerf guns. This allows for smooth and efficient dart loading. Ensure the loading mechanism is securely attached to the Nerf gun body and functions properly before proceeding to the next step.
Assembling the Parts
Now that you have prepared the Nerf gun body, created the barrel, and built the loading mechanism, it’s time to assemble all the parts together. Carefully attach the barrel to the front of the Nerf gun body, ensuring it is aligned properly and securely fastened. Then, attach the loading mechanism to the back of the blaster, making sure it aligns with the barrel and operates smoothly. During the assembly process, it’s crucial to test each component to ensure they function correctly and securely. Make any necessary adjustments or modifications as needed to ensure optimal performance.
Testing and Improving Performance
Measuring Shooting Range and Accuracy
Once your homemade Nerf gun is fully assembled, it’s time to test its shooting range and accuracy. Set up targets at different distances and test how far and accurately your darts can reach. Take note of any improvements that can be made to enhance the blaster’s performance.
Adjusting Air Pressure or Spring Tension
If you find that your homemade Nerf gun is not shooting with the desired range or power, you can make adjustments to the air pressure or spring tension. This may involve increasing or decreasing the pressure in the air system or adjusting the tension of the spring in the loading mechanism. Experiment with these adjustments until you achieve the desired performance.
Optimizing Dart Velocity
To optimize the velocity of your darts, consider adding weight to them or experimenting with different types of foam or materials. Increasing the weight of the dart can improve its ability to maintain momentum and fly straighter, resulting in improved velocity.
Enhancing Dart Stability
Dart stability is crucial for accuracy and consistent flight. To enhance dart stability, you can add fins or stabilizers to the dart design. These can be made from thin plastic or foam and attached to the back of the darts. Experiment with different shapes and sizes to find the optimal design for stability.
Modifying Firing Mechanism for Rapid Fire
If you want to add a rapid-fire capability to your homemade Nerf gun, you can modify the firing mechanism to accommodate multiple darts. This may involve creating a rotating cylinder or magazine to hold and feed multiple darts into the barrel quickly. Be sure to test the modified firing mechanism for smooth operation and reliable dart feeding.
Customizing Your Homemade Nerf Gun
Once you have finished building and testing your homemade Nerf gun, it’s time to add some personalization and customization. This is where you can let your creativity shine. Consider painting your blaster with your favorite colors, adding decals or designs that reflect your personality, or even attaching accessories such as scopes, stocks, or grips. The possibilities for customization are endless, so have fun and make your homemade Nerf gun truly unique.
Safety Precautions
Choosing a Safe Location for Nerf Gun Activities
When using your homemade Nerf gun, it’s important to choose a safe location for your Nerf gun activities. Make sure the area is clear of any obstacles or breakable objects that could be damaged during play. Consider playing in a backyard or a spacious indoor area where there is plenty of room to move around.
Wearing Safety Gear while Using a Homemade Nerf Gun
To protect yourself and others while using a homemade Nerf gun, it’s advisable to wear appropriate safety gear. This may include safety goggles to protect your eyes from any potential dart impacts, as well as protective clothing to minimize the risk of injury. Always prioritize safety when engaging in Nerf gun activities.
Educating Others about Safe Nerf Gun Handling
If you plan to share your homemade Nerf gun with others or engage in Nerf battles with friends, it’s crucial to educate them about safe Nerf gun handling. Teach others how to properly load and aim the blaster, and enforce rules that promote safe play. Emphasize the importance of never aiming at someone’s face or sensitive areas and practicing responsible and respectful behavior during Nerf gun activities.
Properly Maintaining and Cleaning the Homemade Nerf Gun
To ensure the longevity and optimal performance of your homemade Nerf gun, it’s essential to properly maintain and clean it. Regularly check for any loose or damaged parts and make any necessary repairs. Clean the barrel and loading mechanism to remove any dirt or debris that could affect performance. Following a regular maintenance routine will keep your homemade Nerf gun in excellent condition.
Setting Clear Rules and Boundaries for Nerf Gun Use
Before engaging in Nerf gun activities with others, it’s important to establish clear rules and boundaries. Discuss and agree upon guidelines such as not shooting at close range, not aiming at people who do not wish to participate, and establishing safe zones where players are immune from being shot. Setting boundaries and rules will help ensure a safe and enjoyable experience for everyone involved.
Conclusion
Creating a homemade Nerf gun is a fun and rewarding project that allows you to customize your blaster to your liking. By gathering the necessary materials, preparing the Nerf gun body, assembling the components, and testing and improving its performance, you can create a one-of-a-kind blaster that stands out on the battlefield. Remember to prioritize safety by choosing a safe location, wearing appropriate safety gear, and educating others about proper Nerf gun handling. Enjoy the process of building and customizing your homemade Nerf gun, and get ready for epic Nerf battles with friends!